
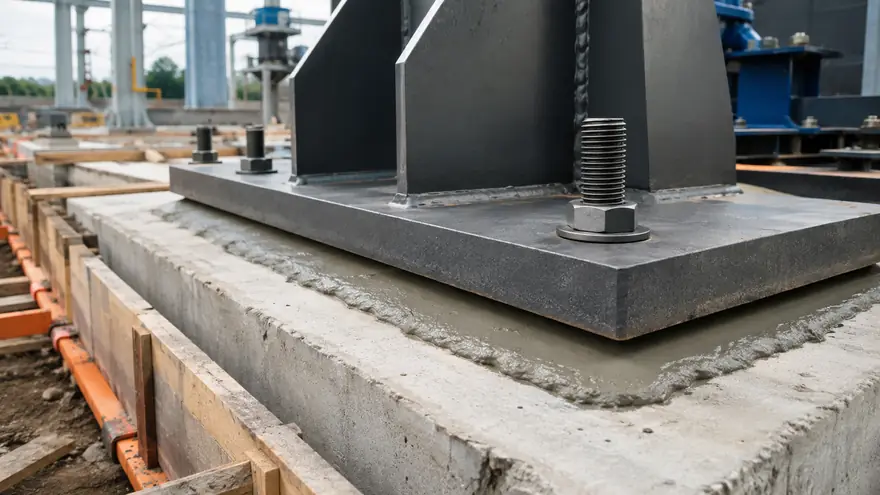
Non-shrink grout is a flowable, high-strength material used to fill confined spaces where ordinary concrete or mortar cannot provide reliable, continuous support. It is commonly placed beneath machine baseplates, steel columns, bridge bearings and precast elements. By controlling volume change before and during hardening, a suitable grout can maintain contact between the supported component and its concrete foundation. This guide explains how the material works, how to select it and how to avoid the installation errors that most often compromise performance.
What Is Non-Shrink Grout?
Non-shrink grout is a factory-blended material designed to compensate for the shrinkage that could otherwise occur while the grout is still plastic or during early hardening. Most general-purpose products are cementitious grouts: they combine hydraulic cement, graded aggregates and performance additives. Water is added on site at the ratio specified by the manufacturer.
The term “non-shrink” does not mean that the material can never change dimension under every exposure condition. It describes controlled performance under defined test and curing conditions. Actual field results still depend on correct water content, temperature, substrate preparation, placement geometry and curing.
Unlike ordinary mortar, flowable grout is formulated to move through narrow gaps and around anchor bolts with limited segregation. Unlike concrete, it normally contains smaller aggregate and is intended for confined bearing areas rather than conventional structural members. Its job is to create a dense load-transfer layer with continuous contact.
How Non-Shrink Grout Transfers Load
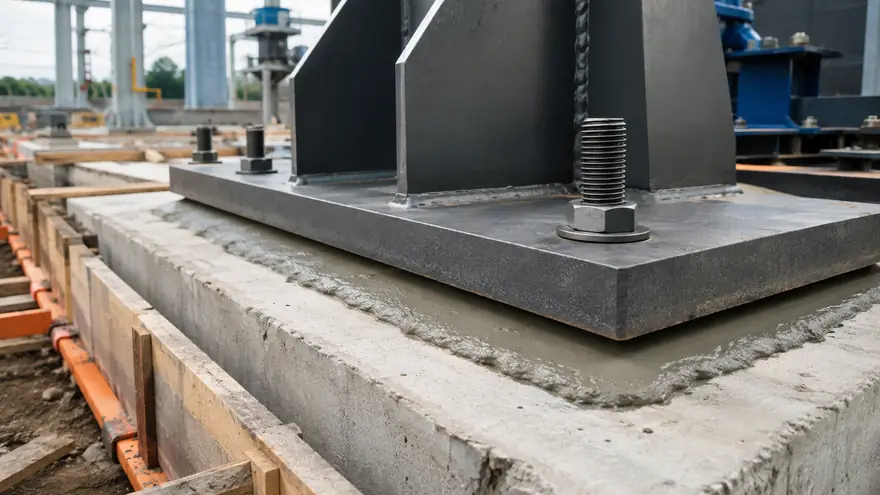
A machine baseplate or column plate may look flat, but neither the steel nor the concrete foundation is perfectly level. If the plate rests only on isolated high points, loads become concentrated and equipment alignment can deteriorate. Grout fills the irregular void between the two surfaces.
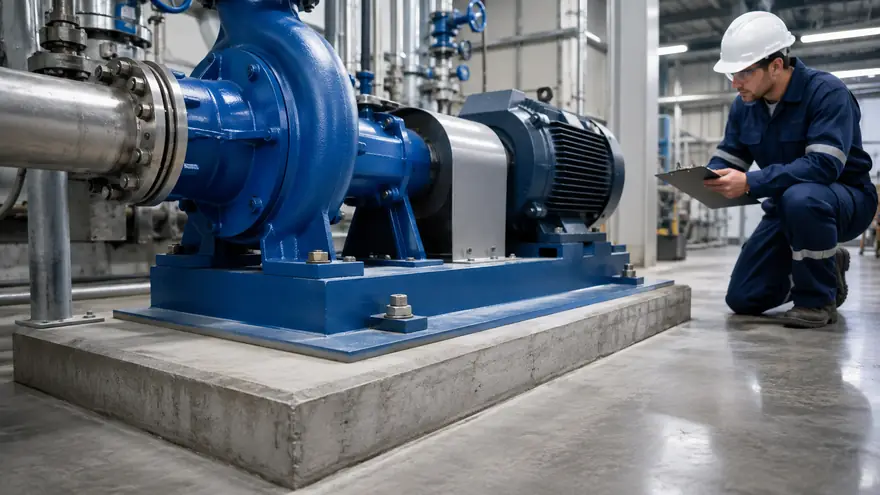
Once hardened, the grout distributes compressive loads over a broader bearing area. It also surrounds anchor bolts and helps stabilize the assembly. For rotating or vibrating equipment, complete support is especially important because voids can contribute to movement, loss of alignment and premature maintenance.
Key Properties of Non-Shrink Grout
Product data sheets can look similar, but the values are meaningful only when the test method, consistency, age and curing condition are comparable. Focus on the properties that relate directly to the installation.
| Property | Why It Matters | What to Check |
|---|---|---|
| Flow or fluidity | Determines whether grout can fill the gap and travel around obstructions | Approved consistency, flow retention and placement method |
| Compressive strength | Supports the design load after the required curing period | Strength at the project’s specified ages, not only the final value |
| Volume-change control | Helps maintain contact beneath the plate | Relevant test method and stated performance period |
| Working time | Defines the usable mixing and placement window | Actual site temperature and batch size |
| Bleeding and segregation resistance | Reduces water pockets and non-uniform support | Suitability at the selected water ratio |
| Application thickness | Controls heat, aggregate choice and placement reliability | Minimum and maximum depth per lift |
| Temperature range | Affects setting, flow and early strength | Material, substrate and ambient limits |
High early strength may be valuable when equipment must return to service quickly, but it should not be the only selection criterion. A grout that sets rapidly yet loses flow before the void is filled is a poor choice for a long or congested baseplate. The whole system—flow, working time, thickness, strength and exposure—must fit the job.
Common Applications
Machinery and Equipment Baseplates
Pumps, compressors, turbines, generators and production machines require stable bearing and accurate alignment. Cementitious non-shrink grout is widely used beneath rigid baseplates where loads are primarily compressive and the service environment is compatible with a cement-based material.
For severe chemical exposure, unusually high dynamic loading or very rapid return to service, an epoxy grout may be considered. The choice should follow the equipment supplier’s requirements and the project specification, rather than a simple assumption that one chemistry is always superior.
Steel Columns and Anchor Bolts
Grout fills the space beneath steel column baseplates after the column has been positioned and leveled. It may also be used around anchor bolts or in prepared pockets. The designer must define the required bearing area, edge distance, confinement and strength; grout should not be used to compensate for an incorrectly detailed connection.
Precast Concrete and Infrastructure
Suitable formulations can support precast wall panels, beams, bridge bearings, rails and other accurately positioned elements. These applications can involve demanding gap dimensions, exposure or load conditions. Always match the grout to the approved project detail and confirm whether pumping, flowable placement or a dry-pack consistency is required.
How to Choose the Right Non-Shrink Grout
Start with the installation conditions, not with a single strength number. A reliable supplier should be able to provide a current technical data sheet, safety information, storage requirements and clear instructions for the intended consistency.
Use the following selection checklist:
- Define the load and service environment. Identify static or dynamic loading, vibration, moisture, chemical contact, operating temperature and any shutdown constraints.
- Measure the grout geometry. Record the minimum and maximum gap, pour length, baseplate width, anchor congestion and access points. Confirm whether a single lift is permitted.
- Select the placement consistency. Fluid grout can travel through confined spaces, while flowable, plastic or dry-pack consistencies suit different details. Never create extra flow by exceeding the stated water range.
- Match the working time to the pour. Consider transport from mixer to formwork, crew size, temperature and continuous material supply.
- Check strength at the required age. The relevant value may be the strength needed before bolt tightening or equipment startup, not merely a later laboratory result.
- Verify compliance and documentation. Compare the product data with the project specification and applicable local standards. Request batch identification or test documentation when the quality plan requires it.
For procurement teams, bag price alone is an incomplete comparison. Yield per bag, allowed water range, storage life, pallet configuration, technical support and the risk of interrupted supply can affect the installed cost. For export orders, also confirm packaging durability, moisture protection and the remaining shelf life upon arrival.
Non-Shrink Grout Installation: A Practical Procedure
The manufacturer’s current instructions and the approved method statement take priority. The sequence below is a general framework for planning and site control.
1. Prepare the Concrete and Baseplate
Remove laitance, weak concrete, oil, curing compounds, dust and loose debris. The concrete should be sound and suitably roughened to promote mechanical bond. Clean the underside of the baseplate and ensure that drain or vent holes required by the detail are open.
Where specified for cementitious grout, pre-wet the concrete to achieve a saturated surface-dry condition. Free-standing water must be removed before placement. A dry substrate can draw water from the grout, while pooled water can dilute the interface.
2. Build Rigid, Leak-Tight Formwork
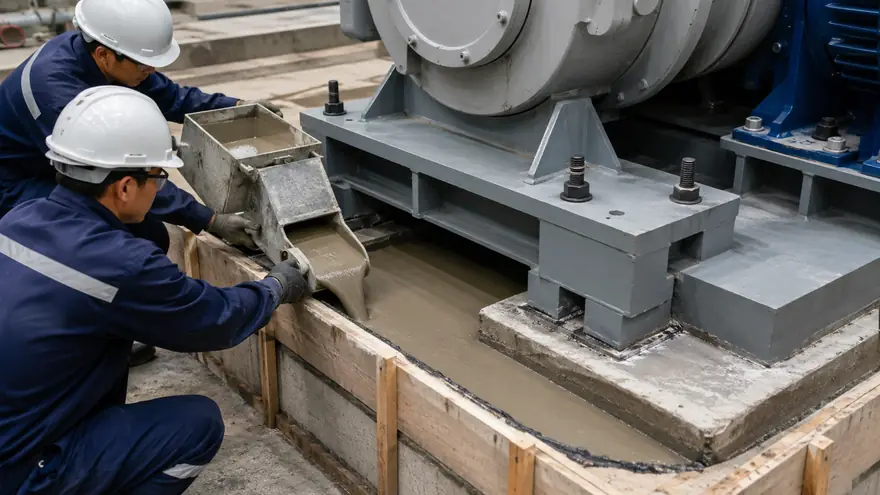
Forms must resist the pressure of fluid grout without moving or leaking. Seal joints carefully and provide enough head pressure on the pouring side. The opposite side should allow displaced air to escape and make it possible to confirm that grout has reached the full length.
Plan the pour before mixing begins. Long baseplates may require a head box, multiple mixers or pumping equipment, but placement should still follow a continuous sequence that avoids trapped air and cold joints.
3. Measure Water and Mix Consistently
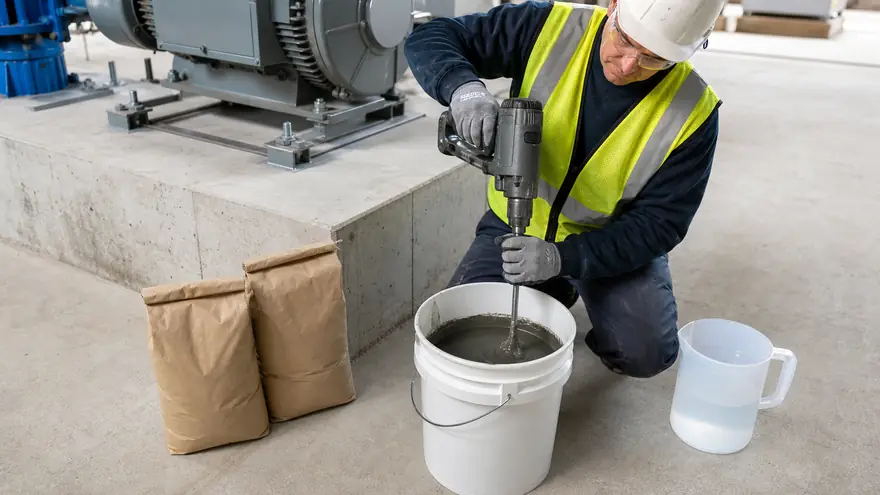
Use clean water within the manufacturer’s stated range and measure it for every batch. Add the materials in the recommended order and mix with suitable mechanical equipment for the stated time. Do not estimate water by appearance.
Excess water may make placement look easier, but it can increase bleeding, segregation, shrinkage and variability. Do not retemper a batch that has begun to stiffen. Keep batch sizes small enough to mix, transport and place within the working time.
4. Place Continuously From One Side
Pour or pump from one side so the grout advances as a single front and pushes air ahead of it. Maintain a steady head and a continuous supply until grout appears at the opposite side. Pouring from several sides can trap air beneath the plate.
Use only the rodding, strapping or other assistance permitted by the product instructions. Uncontrolled vibration can segregate some grout formulations. Do not interrupt the pour to mix an unplanned batch after the leading edge has begun to set.
5. Finish, Protect and Cure
After placement, finish exposed shoulders as detailed and protect the grout from rapid moisture loss, rain, freezing, heat and vibration. Apply the specified curing method promptly. Form removal and equipment loading should be based on the approved procedure and verified strength requirement.
Record the product batch, water quantity, mixing time, material and ambient temperatures, start and finish times, and any test samples. These records make troubleshooting far more reliable than relying on memory after the equipment is commissioned.
Common Grouting Problems and How to Prevent Them
| Problem | Likely Causes | Prevention |
|---|---|---|
| Voids beneath the plate | Pouring from multiple sides, inadequate head, leaks or blocked air paths | Use a planned one-side continuous pour and sealed forms |
| Low or variable strength | Excess water, inconsistent batches, expired or moisture-damaged material | Measure every batch and store bags dry |
| Cracking at exposed shoulders | Poor curing, oversized or poorly detailed shoulders, rapid drying | Follow the approved edge detail and begin curing promptly |
| Loss of flow during placement | Hot materials, long delays, large batches or unsuitable product choice | Control temperature, logistics and batch size |
| Segregation or bleeding | Too much water, incorrect mixing or excessive vibration | Stay within the stated water range and method |
| Debonding at the interface | Dust, oil, laitance, free water or insufficient preparation | Prepare and inspect the substrate before forming |
Most grout failures are system failures rather than isolated product failures. A technically suitable bagged material can still perform poorly if the gap is outside its recommended range, the formwork leaks or the crew adds uncontrolled water. A pre-pour meeting and a small field trial are sensible for complex or high-value installations.
Frequently Asked Questions
Is Non-Shrink Grout Waterproof?
Cementitious grout can be dense and water resistant, but “non-shrink” does not automatically mean waterproof or suitable as a standalone waterproofing membrane. Check the product’s exposure limits and use the waterproofing system specified for the structure.
Can Non-Shrink Grout Be Used as Concrete Repair Mortar?
Only when the product is approved for the repair geometry and exposure. A highly flowable grout may not stay on vertical or overhead surfaces, while a concrete repair mortar is formulated for placement and finishing in those orientations.
How Thick Can Non-Shrink Grout Be Placed?
The permitted thickness varies by formulation, consistency and whether clean aggregate extension is allowed. Use the minimum and maximum values in the current data sheet. For deep placements, confirm heat control and lift requirements with the manufacturer.
How Much Water Should Be Added?
Use only the quantity stated for the required consistency and measure it accurately. Water demand cannot be set by a universal rule because bag size, formulation and temperature differ among products.
When Can the Equipment Be Started?
Startup depends on the required in-place strength, curing temperature, equipment load and project procedure. Do not use elapsed time alone. Follow the engineer’s or equipment supplier’s acceptance criteria and verify strength where required.
What Is the Difference Between Cementitious and Epoxy Grout?
Cementitious grout is water-mixed, mineral-based and suitable for many general bearing applications. Epoxy grout uses resin, hardener and aggregate, and may be selected for demanding chemical, impact or dynamic-load conditions. Cost, thermal behavior, installation depth, working time and service exposure should all be reviewed before choosing.
Conclusion
Non-shrink grout provides a critical connection between equipment, structural steel or precast elements and their supporting concrete. Reliable performance comes from matching the product to the gap, load, environment and construction schedule, then controlling preparation, water, mixing, placement and curing. If you are evaluating a non-shrink grout supplier for an industrial project or bulk order, share your application thickness, required strength age, placement method, service conditions and order quantity. A technically complete request helps the supplier recommend an appropriate grade and prepare an accurate quotation.