
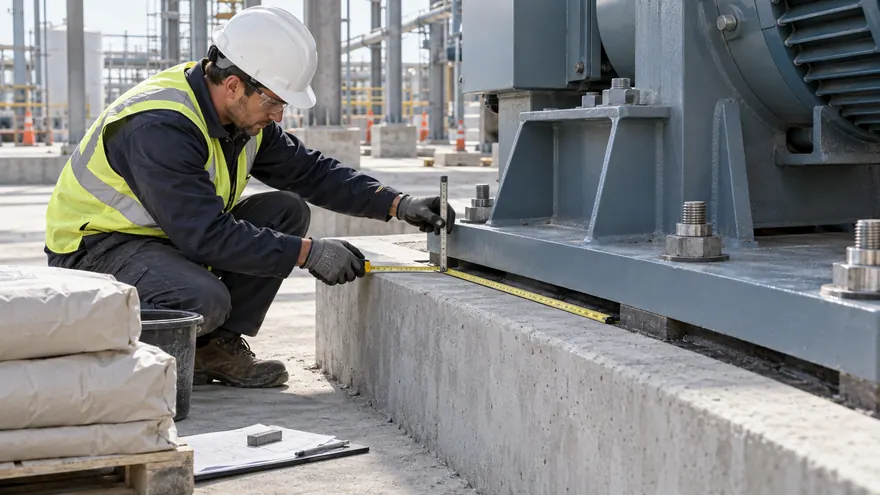
Accurate non-shrink grout quantity planning helps a crew complete an equipment-base pour without an interruption, excessive leftovers, or last-minute changes to the approved mix. The calculation is more than length × width × depth. You must define the actual grout boundary, account for uneven gaps and solid obstructions, include forms or delivery equipment that will retain grout, use the correct mixed yield per bag, and round the result up to whole packages.
This guide explains the process with metric and imperial examples. The method applies mainly to packaged cementitious non-shrink grout beneath machinery and steel baseplates. The project drawings, approved method statement, current product data sheet, and supplier’s confirmed yield always take priority.
The Non-Shrink Grout Quantity Formula
Use this sequence:
Net grout volume = gross void volume − permanent displacement + additional retained volume
Adjusted grout volume = net grout volume × (1 + approved allowance)
Number of bags = adjusted grout volume ÷ mixed yield per bag
Purchase quantity = number of bags rounded up to the next whole bag
The allowance is not a universal percentage. It should reflect the measured surface profile, formwork geometry, grout remaining in hoses or equipment, trial results, leakage risk, and the project’s material-control procedure. Do not hide poor measurement or leaking forms behind an arbitrary large allowance.
Why Bag Weight Is Not the Same as Grout Yield
A 25 kg or 55 lb bag tells you the dry package mass, not the space that the mixed grout will fill. Mixed yield depends on the formulation, approved water content, consistency, temperature, mixing efficiency, and whether aggregate extension is permitted.
ASTM C1107/C1107M-26, the current specification for packaged dry hydraulic-cement non-shrink grout, includes a procedure for determining grout yield. That is important because procurement calculations should use a documented mixed-volume value rather than a volume guessed from powder density.
Published values also demonstrate why product-specific data matters. The U.S. page for SikaGrout-928 states that one 25 kg bag at fluid consistency provides approximately 0.50 ft³, or 0.014 m³. A February 2026 SikaGrout-928 data sheet for Ireland gives a theoretical yield of 12–13 L per 25 kg bag and explicitly excludes extra material caused by surface profile, level variation, waste, and other site conditions. Even products with a similar name can have market-specific documentation, so use the current sheet issued for the product actually supplied.
For more background on product selection and performance, see our non-shrink grouting material engineering guide.
Step 1: Define the Grout Boundary
Mark the exact volume that will contain grout. For a simple rectangular baseplate, this may be the length and width inside the forms multiplied by the average clear gap. However, the actual boundary can extend beyond the steel plate to the inside faces of the formwork.
Identify:
- the formed length and width;
- the minimum, maximum, and average grout thickness;
- anchor pockets, shear keys, recesses, and blockouts;
- leveling plates, permanent shims, bolts, and other solids;
- grout shoulders outside the baseplate;
- headboxes, vents, pump hoses, or tremie lines that retain grout;
- separate voids that will not communicate during placement.
ACI SPEC-351.4-24 covers minimum requirements for cementitious grouting between foundations and equipment bases, including materials, placing, and quality control. Estimating should therefore follow the approved installation detail, not an assumed rectangle taken from the equipment nameplate.
Step 2: Measure the Actual Dimensions
Measure the formed footprint after the equipment has been positioned and before grouting begins. Do not rely only on tender drawings when the concrete surface, shims, or form location may have changed.
Take the gap at several points. If the foundation is uneven or the plate is sloped, divide the footprint into smaller zones and calculate each zone separately. A single depth measurement can materially understate the volume.
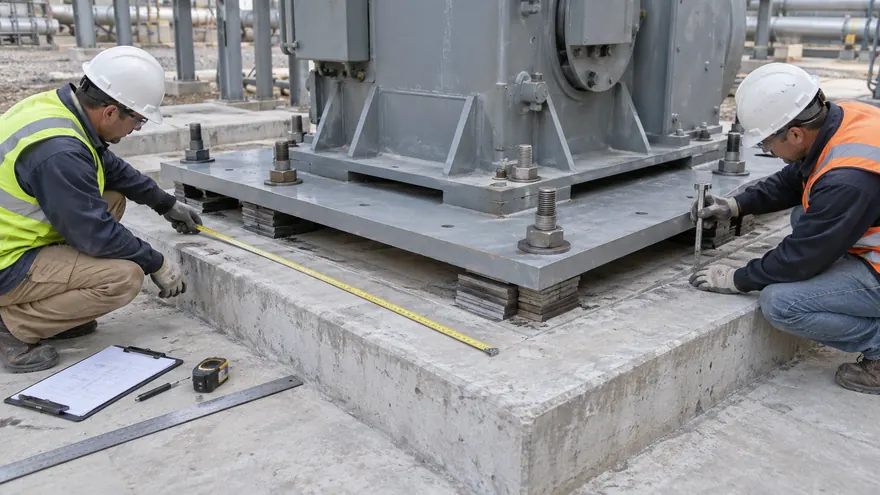
Record every dimension in one unit system. Mixing millimeters with meters, or inches with feet, is a common source of large errors.
Step 3: Calculate the Gross Void Volume
For a rectangular space:
Metric: Volume (m³) = length (m) × width (m) × average thickness (m)
Imperial: Volume (ft³) = length (ft) × width (ft) × average thickness (ft)
Useful metric relationships are:
- 1 m³ = 1,000 L
- 1 mm = 0.001 m
- 1 L = 0.001 m³
For imperial-to-metric work, the NIST Guide to the SI lists 1 ft³ as 0.02831685 m³, or approximately 28.31685 L. ASTM C1107/C1107M states that SI and inch-pound values should be treated independently for conformance, so it is good practice to calculate in the project’s governing unit system and convert only for communication or purchasing when necessary.
Step 4: Subtract Significant Solid Displacement
Grout cannot occupy the volume already taken by permanent steelwork or other solids. Subtract significant displacement from large leveling plates, shear keys, embedded blocks, or unusually large anchor assemblies.
Small bolts are sometimes negligible in a large pour, but do not assume that every obstruction is insignificant. A congested base with multiple pockets and plates can displace a meaningful volume. Use dimensions from approved drawings or field measurements.
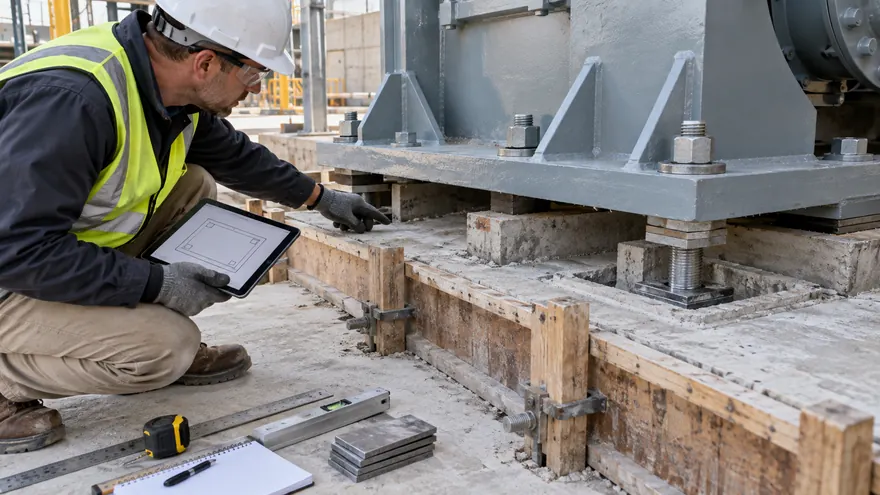
Do not subtract temporary items that will be removed and leave a void to be filled. Confirm the sequence with the engineer when shims, leveling screws, or temporary supports are scheduled for later removal and backfilling.
Step 5: Add Other Volumes That Will Consume Grout
Add any grout that will remain outside the simple under-plate rectangle, including formed shoulders, anchor pockets, keyways, headboxes, or pump lines that cannot be recovered. Measure these items by their actual geometry.
For a rectangular pocket:
Volume = length × width × depth
For a cylindrical pocket:
Volume = π × radius² × depth
For an annular space between two concentric cylinders:
Volume = π ÷ 4 × (outside diameter² − inside diameter²) × length
Keep the units consistent throughout each calculation. Where the geometry is irregular, split it into simple shapes, calculate each one, and add the results.
Step 6: Apply a Justified Site Allowance
The calculated net volume describes ideal geometry. Actual consumption may be higher because of concrete roughness and porosity, local level variations, mixer residue, spillage, material left in hoses, testing samples, and unavoidable handling loss.
Choose the allowance through the project’s estimating or quality procedure. A trial placement or measured yield check provides better evidence than a copied rule of thumb. Conditions that may justify a larger documented allowance include:
- rough or heavily profiled concrete;
- complex formwork and multiple pockets;
- long pump or hose runs;
- uncertain as-built levels;
- small batches with proportionally higher mixer residue;
- a remote site where an interrupted pour carries high risk.
An allowance must never be created by adding excess mixing water. The manufacturer’s yield applies at the documented consistency and water content.
Step 7: Divide by Product Yield and Round Up
Obtain the mixed yield per bag from the current data sheet or supplier. Use the yield for the selected consistency and approved mixing water. If the data gives a range, the project may choose the conservative lower value unless verified field-yield data supports another value.
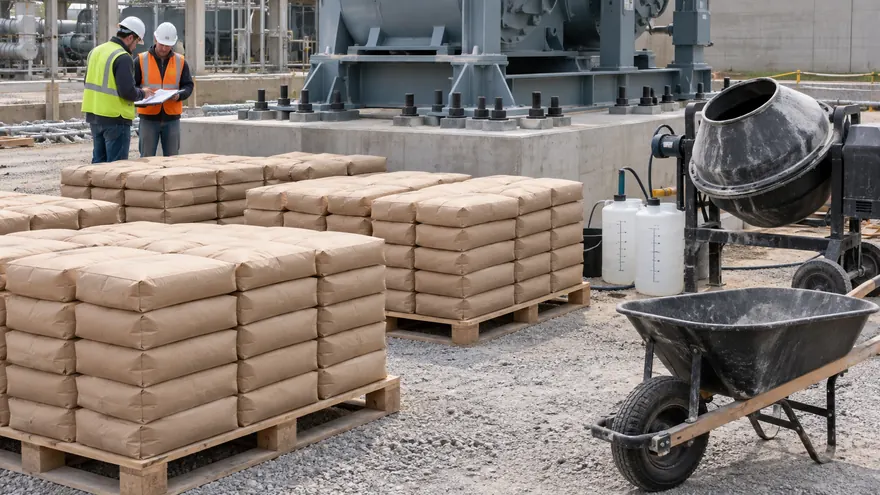
Divide the adjusted volume by the yield, then round up to the next whole bag. Finally, confirm pallet quantities, unopened-bag return rules, batch traceability, storage, and whether the whole supply can be staged for a continuous pour.
Metric Calculation Example
Assume the final formed space is 2.40 m long, 1.20 m wide, and has an average measured gap of 50 mm.
1. Convert the thickness
50 mm = 0.050 m
2. Calculate gross volume
2.40 m × 1.20 m × 0.050 m = 0.144 m³, or 144 L
3. Adjust for other geometry
Assume significant permanent steel displacement totals 4 L, while an anchor pocket and retained headbox volume add 7 L.
144 L − 4 L + 7 L = 147 L net volume
4. Apply the project-approved allowance
For illustration only, assume the estimator approves an 8% allowance based on the measured surface and planned placement equipment.
147 L × 1.08 = 158.76 L adjusted volume
5. Convert volume to bags
Assume the current data sheet gives a yield range of 12–13 L per bag and the project uses 12 L per bag for conservative planning.
158.76 L ÷ 12 L/bag = 13.23 bags
Round up: 14 bags
This result is valid only for the assumed geometry, allowance, and yield. It is not a universal coverage figure for 25 kg grout bags.
Imperial Calculation Example
Assume a formed space measuring 8 ft × 4 ft with an average gap of 2 in.
1. Convert the thickness
2 in ÷ 12 = 0.1667 ft
2. Calculate gross volume
8 ft × 4 ft × 0.1667 ft = 5.33 ft³
3. Adjust the geometry
Assume permanent displacement is 0.18 ft³ and other retained volume is 0.10 ft³.
5.33 − 0.18 + 0.10 = 5.25 ft³ net volume
4. Apply the project allowance
For illustration, use an approved 7% allowance.
5.25 ft³ × 1.07 = 5.62 ft³ adjusted volume
5. Calculate bags
At a documented yield of 0.50 ft³ per bag:
5.62 ft³ ÷ 0.50 ft³/bag = 11.24 bags
Round up: 12 bags
Estimating Worksheet
| Input | Recorded Value | Source |
|---|---|---|
| Formed length | Field measurement / approved drawing | |
| Formed width | Field measurement / approved drawing | |
| Average gap | Multi-point field measurement | |
| Gross void volume | Geometry calculation | |
| Permanent displacement | Drawings / field measurement | |
| Additional retained volume | Formwork and placement plan | |
| Net grout volume | Gross − displacement + additions | |
| Approved allowance | Project estimating procedure / trial | |
| Adjusted grout volume | Net volume × allowance factor | |
| Yield per bag | Current product data sheet / verified yield | |
| Calculated bags | Adjusted volume ÷ yield | |
| Purchase quantity | Rounded up whole bags |
Common Grout Quantity Calculation Errors
| Error | Why It Causes a Problem |
|---|---|
| Dividing volume by bag weight | Kilograms or pounds do not state mixed volume |
| Using nominal plate dimensions only | Forms, shoulders, and pockets may increase the boundary |
| Measuring the gap at one point | Uneven foundations can make the average thickness different |
| Ignoring large shims or steel keys | Solid displacement overstates the required grout volume |
| Forgetting headboxes or hoses | Retained grout is consumed but not beneath the plate |
| Using a competitor’s yield | Formulation, bag size, water, and consistency may differ |
| Rounding down | Packaged grout cannot be purchased as a fraction of a bag |
| Adding water to increase yield | Unapproved water changes grout performance and consistency |
If you need help with the complete site procedure after estimating, use our 12 non-shrink grout installation precautions as the companion checklist. If the application is an unconfined repair rather than a bearing void, compare non-shrink grout and concrete repair mortar before purchasing.
Frequently Asked Questions
How Many 25 kg Bags of Non-Shrink Grout Are in One Cubic Meter?
There is no universal number. Divide 1,000 L by the current product’s documented liters per bag, then apply the project’s allowance. At a purely illustrative yield of 12–13 L per bag, the theoretical result before site allowance would be approximately 77–84 bags. Do not use that range for another product without confirming its yield.
Should I Use Dry Density to Calculate the Number of Bags?
Use the manufacturer’s mixed yield whenever it is available. Dry bulk density alone does not capture the approved water content, consistency, or actual mixed volume.
Can I Use the Maximum Published Yield?
Only if it corresponds to the exact product, selected consistency, approved water content, and project conditions. If a range is given, clarify the estimating basis with the supplier or use a verified field-yield test.
How Much Extra Grout Should I Order?
Set a documented allowance based on geometry, surface profile, formwork, delivery method, sampling, and site risk. There is no percentage that is correct for every job. A trial and accurate as-built measurements give the best basis.
Do I Include the Headbox in the Calculation?
Include grout that will remain in or be discarded from the headbox, pump, hose, pockets, and formed shoulders. Exclude only material that can be demonstrably recovered and reused within the approved working time and procedure.
Conclusion
A reliable non-shrink grout quantity estimate begins with field geometry and ends with product-specific mixed yield. Measure the formed space, use an average gap from several points, subtract significant permanent displacement, add retained volumes, apply a justified allowance, divide by the correct yield, and round up to whole bags.
For equipment foundations and precast work, review the published performance of QD60 grouting material and the broader Qiandao Materials product range. Because the live product page does not publish a bag-yield figure, request the current technical data for the exact supply before finalizing procurement. Send your drawings, dimensions, selected consistency, project location, and order quantity through our contact page for a project-specific discussion.
References
- ASTM International. ASTM C1107/C1107M-26, Standard Specification for Packaged Dry, Hydraulic-Cement Grout (Nonshrink). Updated September 15, 2026; accessed September 18, 2026.
- American Concrete Institute. ACI SPEC-351.4-24, Cementitious Grout Installation between Foundations and Equipment Bases—Specification. Published November 2024.
- National Institute of Standards and Technology. NIST Guide to the SI, Appendix B.9: Volume Conversion Factors. Updated August 18, 2025; accessed September 18, 2026.
- Sika Corporation. SikaGrout-928 Product Page and Coverage Data. Accessed September 18, 2026.
- Sika Ireland. SikaGrout-928 Product Data Sheet. February 2026, Version 05.01.